I'll start by saying this, though I know a thing or two about art as a theory, I am by no means a talented artist, especially with paints. So, I've always ignored painting, at least until now. Seeing that all the best railroads have backdrops of some sort, and not having the funds to buy a backdrop or print one from photographs, painting makes the most sense. So, I hope that you too can learn something about painting through this series of posts as I practice and learn. In other words, this isn't a normal how-to, but rather a series of posts reporting what I've learned to you the reader. As I pick up some tricks and tips, I'll be sure to pass them on.
So then, let's start with equipment.
While oil and watercolors will work, and will give a backdrop a ore artistic feel, if you are looking for quick, easy, and cheap; acrylics are the way to go. The difference is that acrylics are basily liquid plastic that cleans up easily when wet, but is nearly as permanent as oil paint once dry and sealed. Acrylics are commonly found at home centers, art supply stores, craft stores, and some hobby stores. For practice, I'd recommend going with a mid-priced paint set. The cheapest acrylics can be low quality, and would yield less than inspiring results. But you don't want to waste money on expensive paint, at least not when practicing.
Overall, here are the materials you'll need to begin:
- A set of acrylic paints with as many natural colors as possible. Must haves include: Burnt Umber, Sienna, yellow Ochre, Hooker's green, Crimson Red, Super Marine Blue, Cobalt Blue, and any others that look like colors you'd see in nature. Almost every set comes with the basic five colors: Black, White, Red, Blue, and Yellow. In theory, these five colors can create any color, in any shade imaginable. We won't use too much yellow red, or blue directly on the paintings, but those colors can be mixed to give different tints to the same color. Black we never use directly on a painting, but is often used to give darker shades of colors. However, we will use a lot of white, so pick up one or two 12 oz bottles of Titanium white.
- An assortment of brushes are next. There are two basic types needed, round and flat brushes. Round brushes give soft edges for clouds, sky, distant objects, or objects with a hazy border. Flat brushes produce hard edges such as tree limbs, rocks, bare earth, and man-made objects. You will need several of both kinds, in different sizes. Get atleast a couple very small brushes for detailing. For flat brushes, it would be wise to buy squared off and angle-cut brushes (sorry, don't know the technical terms). That way, different edges can be created.
- A palette. You can buy a wood or plastic palette; but acrylic sticks to these surfaces. Instead, I've found that a small pane of glass, or a small metal baking pan works well. Glass and metal don't allow paint to stick to it nearly as easily. Glass can be washed and scrubbed with a scour pad, and metal could have fine sandpaper, a scour pad, or even steel wool (at least when the metal pan is of a denser material than the wool).
- A small glass for rinse water. In order to keep from ruining your brushes, the brushes must be wet when painting, and must stay wet until cleanup. So, brushes that are not in use need to be submerged in the water held in the glass.
- An Easel. Easels might seem like an extra, but painting becomes easier, and much more accurate on an upright surface. If your table allows for it, I would clamp the easel to the table surface, since with small practice canvases, the easel can move with heavy brush strokes. If not, get used to holding the canvas down by pinning it with your off-hand.
- Lights. You need good lighting in order to see what your painting accurately. For us model railroaders, the lighting should be similar or exactly like what is on the layout to ensure that colors won't change. Unfortunately for me, that's not quite possible as my space is too small. But, with all the lights on and reflecting around my white-painted room, I get considerable light from behind and above.
- Practice Canvases. I found a readily available supply of cheap canvases at Walmart. For $5, I get a set of 3 11" by 14" canvases. These, being less than $2 a painting, are perfect for practice since there's no money (or almost no money) invested.
- Old Paper. Unless you want paint stains on any furniture or the walls in the immediate painting area, cover all surfaces within a range of 3 feet, including carpets and hardwood floors, with old newspaper and/or scrap office paper. We've got plenty of paper lying around the house that would otherwise just be tossed in the trash; so instead recycle and use those old papers. For a big backdrop, a drop cloth would be wise.
For about $50, you can get started with a good set-up. What you invest a lot more of is time. Thankfully, several one hour sessions can complete a backdrop big enough for a small railroad. For practice, about 2-3 hours is all that is required, and less as your skill improves.
I would also suggest wearing old clothing while painting, for reasons I'm sure most of you already know. Once dry, paint of any kind is nearly impossible to get out of fabric. Acrylics only come out when wet, so if you don't want stains, at all, it might be best to get an apron. And safety, don't put paint-dipped fingers in your mouth. Even with modern paints, there is a ton of chemicals, on par with or worse than cigarettes.
To set up, if you're right handed, I suggest looking at the diagram below. The easel should be placed on the left side of the work surface, the paints should be near the artist, but slightly to the right, and any reference photos near the back-right corner of the work surface. For a lefty like me, the opposite would be true. This gives the artist a good angle for their dominate hand to paint.
With that out of the way, let me turn your attention to today's main topic, basic clouds and sky. For most purposes, painting a clear sky, or one with some fluffy clouds is all that is needed for a model railroad. With some practice, skies and clouds can be made nearly as realistic as a photo.
First, take a brief moment to look at the canvas, just long enough to get an overall picture of it's size and the area you have to work with. If you have reference photos (which I recommend), take a few minutes to study the clouds and the sky in the photos. Take note of all the subtle hues. I remember a brief story where a person was asked to look at the clouds and describe them; the person said "white". The person who asked the question shook their head and asked again. After studying the sky, the person being asked replied, "Their not white at all, their every color!"
This is very true, since colors in clouds are no more than light being shone through and reflected off water vapor. The sun, the ground, sky, water, everything gives the clouds a unique color. On a clear day, however, like what I am painting, these colors are so subtle that we simply need white and a bit of grey and blue, maybe a hint of yellow.
After analyzing the reference photos, look back at your canvas. Take a large flat brush and load it with some Ultramarine Blue mixed with some white to give a consistent "sky" blue color. I recommend going slightly darker than the reference photos, since on the layout all the colors are more vibrant than in real life ( and fluorescent light tends to wash out color).
You may be tempted to brush vertically, like painting a wall. Don't do this! Unlike model railroading, their are a few rules you must follow for landscape painting. If you go vertically, and variations in color will be in a vertical plane. Instead, like the photo below, do big sweeping horizontal strokes.
Get the top 1/4 of the canvas thick with blue paint. not to the point that it is running but just enough that we have a long time before the paint sets. Next, mix in more white to the blue and add a thick stripe beneath the blue already on the canvas as shown below.
Then mix the two colors for a seamless transition from one color to the next. As the sky goes towards the horizon, the blue becomes lighter, almost white, in color.
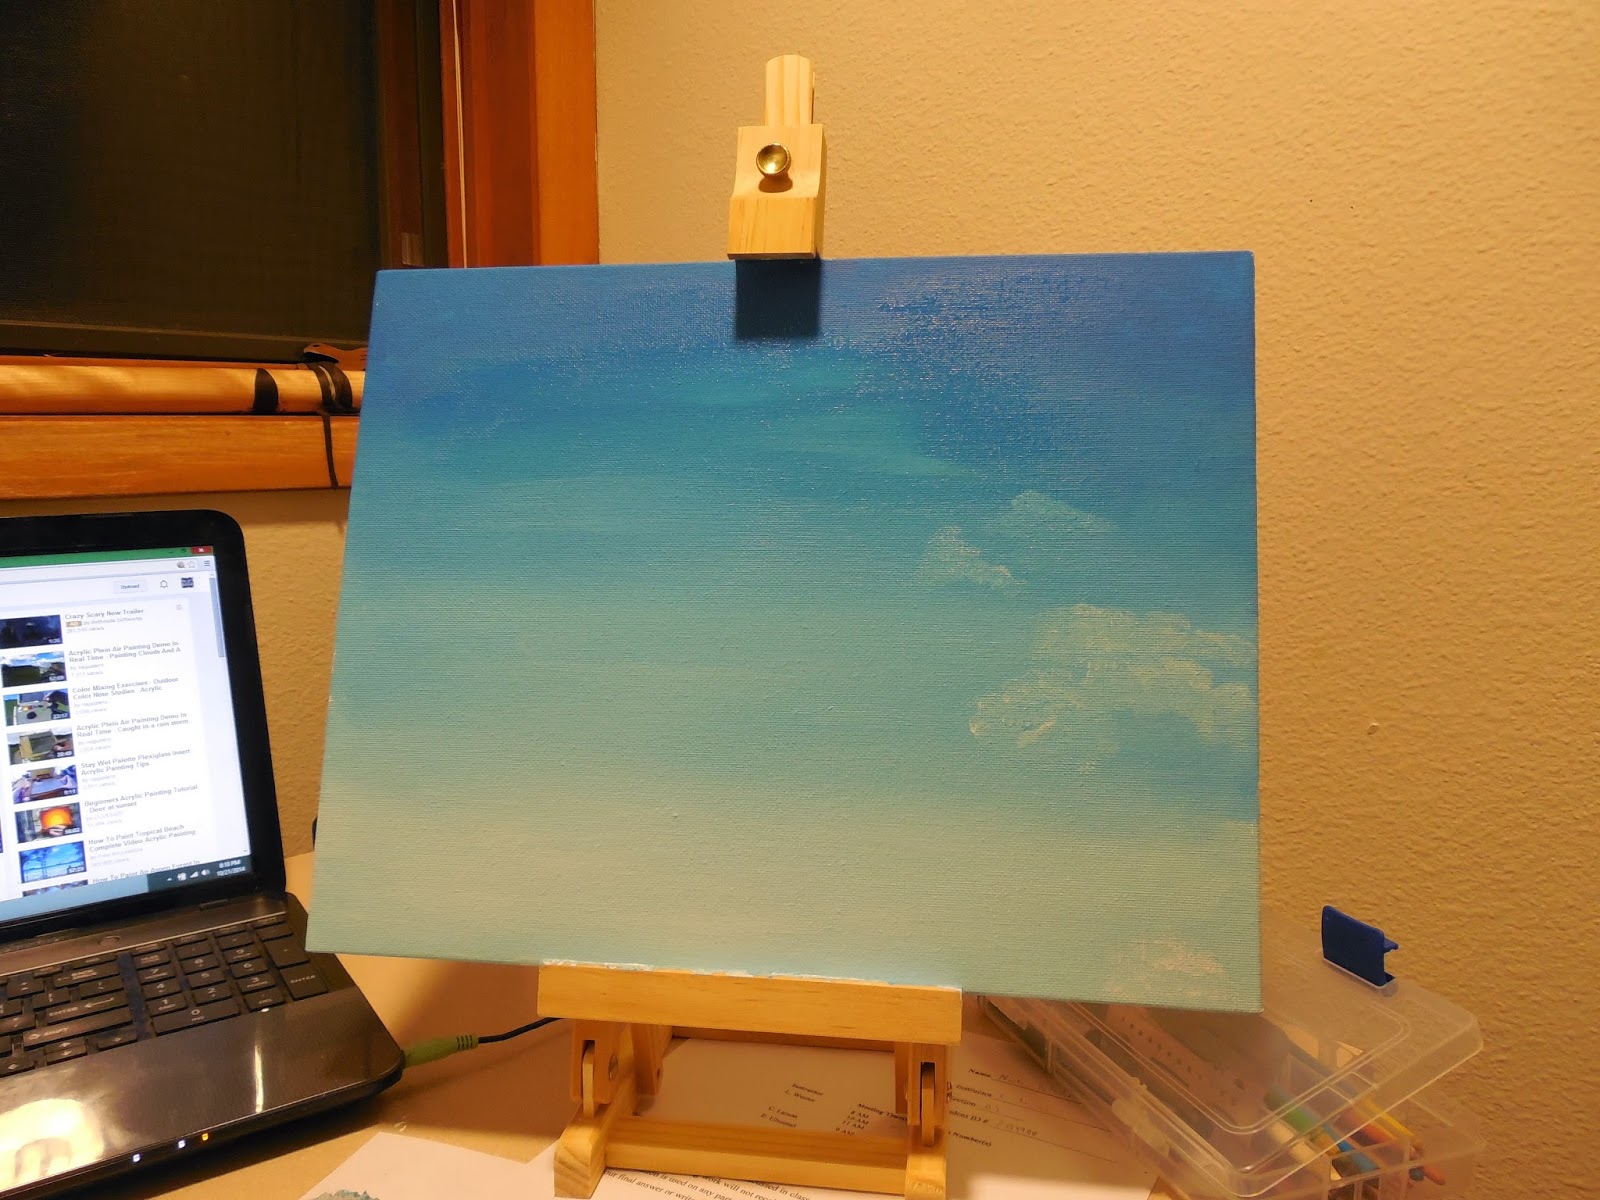
Continue mixing in lighter shades of blue until you have nearly the whole canvas covered (except maybe an inch or two on the bottom. The horizon for this painting will be about 1/6th of the way up from the bottom, so as you can see below, I made that area almost completely white.
Look at the computer picture (which I took myself outside Walmart on a pleasant afternoon) and compare it with the backdrop I have. Both skies are fairly even in the photo, and I probably would have gone a tad darker too, but that's for another canvas.
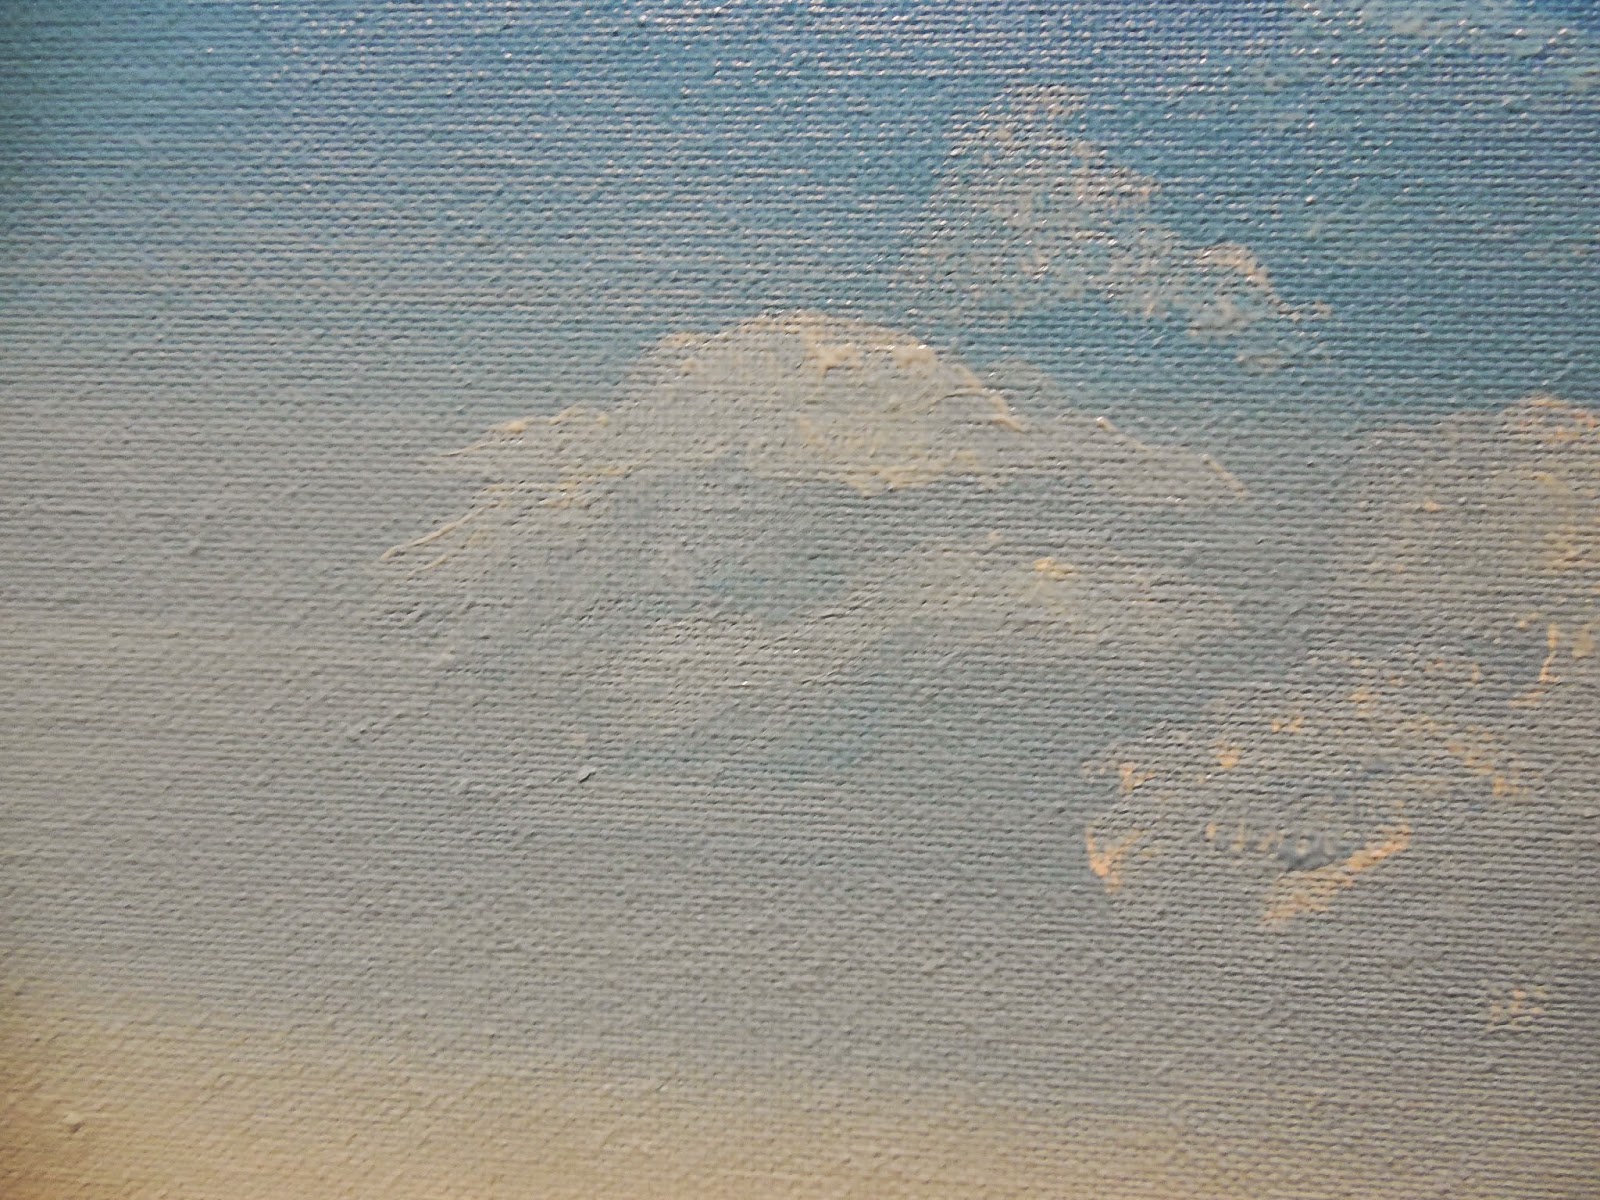
With the paint still wet, I began focusing on clouds. Near the horizon line that I envisioned, I began by adding small spots of white. These will be distant clouds. You might be asking, why not just start making clous up where they'll be seen? Well, if you look on a partly cloudy day, there are many clouds in the distance that are barely noticeable at first, but become apparent. There is almost always a cloud or two in the distance, so start with the horizon and work towards the foreground, like you would with painting
landforms.

I then went back to the hard edges of the clouds near the bottom of each cloud, and blended it with the surrounding sky. No need for further explanation why, the photos clearly show how good the effect is, even from a novice like myself.
Always take a moment to step back and study the canvas. Look for balance, since that is one thing that draws attention. Since this is a backdrop, everything should look (normal) except if you want to draw attention to something specific like a massive thunderstorm in the distance or clouds rolling over mountains.
Satisfied with the clouds near the horizon, I moved to some clouds closer to the foreground (higher above the horizon). If the clouds on the horizon where 15 miles away, these would be more like 10. I added thicker white blotches and worked the white down, leaving highlights. Unlike the horizon clouds, these clouds maintain their underside, so leave some blue in between the clouds. The key to this is a dry-brushing technique to 'rub' the paint onto the canvas rather than lather it like with the sky.
Again, step back and check to make sure it's working. I, being left handed, like to work from right to left. Others might like to do the opposite. Just make sure there is no pattern. The mind likes to organize, and as an artist attempting to recreate nature, we have to fight that urge to have a pattern. Vary height, intensity, size, and shape to achieve those results.
As I built the clouds up, the entire cloud bank began to form. At this point, there were plenty of clouds, so I then started adding more highlights.
You can see the results of rubing in the paint by looking at the cloud on the left of the canvas. In hindsight, I may have overdid it a bit and could have left a more solid mass there.
At this point, your palette should look like this above. Use as much as you need, and then some. Keep the colors simple (blue, white, and a tiny bit of black to make shades of grey).
Here are the two brushes I was primarily using. The flat brush was great for highlights using the very tip of the brush. The round brush was useful for blending and painting the overall cloud forms. With the clouds a few miles out painted, I went ahead with the foreground clouds. These needed to be big and puffy, so a light touch on the edges was needed but paint had to be rubbed in well in the center. My one complaint about canvas is the grid pattern that overlays the fabric underneath. However, on a smooth surface, this dry brushing technique would word well. Never the less, the photos seemed to have turned out.
I would stop at this point. However, for practice sake, I kept going trying to refine the technique a bit more.
I ended up with a sky that looked like this:
This looks okay probably good enough for most of us. But, if you want more realism, you have to add darker colors to the base of the clouds. On a clear day, a bluish grey is best. For dawn and dusk, pinks and purples would be better.
The result of rubbing in the grey gave me this:
This grey, as it was, is obviously way too harsh. So, I went back with white and carefully erased and covered much of the grey, leaving a variety of shades within the clouds to give them depth. Repeat this two or three more times until you get this:
Now it looked as good as it was going to be, so I left it there while I was ahead. As I mentioned earlier, take plenty of time and plenty of little breaks to come back and study the artwork. If the painting looks good, don't try to over do it like I did, at least for anything other than practice.
To finish up, I added a basic landscape which we won't focus on today, seeing that the post has already gone on long enough. Here's the overall scene, completed with landscape:
And to prove the point that it worked, I took a test shot with an N scale model on a small chunk of layout that I saved:
Notice how the backdrop, when out of focus, works well. Our eyes operate the same way. The biggest thing to pay attention to with making backdrops for model railroads is to eliminate anything that stands out, especially in the sky. Our eyes will tune out the backdrop and focus on the model if there's nothing interesting in the background.