Old Posts

Monday, April 14, 2014

Subjects to Discuss

The first two days of asking around has gotten me the following subjects to talk about:


  1. Scratch building:  Making something out of simple materials.  Suggestions for topics within this subject area include drive mechanisms for model trains, casting parts out of resin, "spin casting" whatever that is, in addition to using styrene, wood, and metal to make railroad equipment.
  2. Radio Control:  Yes, after such a long time, Radio Control is finally to the point in the 21st cetury where it is moderately priced, and very reliable system for controlling trains; thus it will be made into a topic of discussion on this blog.
  3. Wiring:  This is a broad topic, but I'll primarily focus on wiring layouts, engines, and specialty wiring for things like Radio Control and scratch building.
  4. Scenery:  Another very broad topic, but one that's worth a few posts for sure.
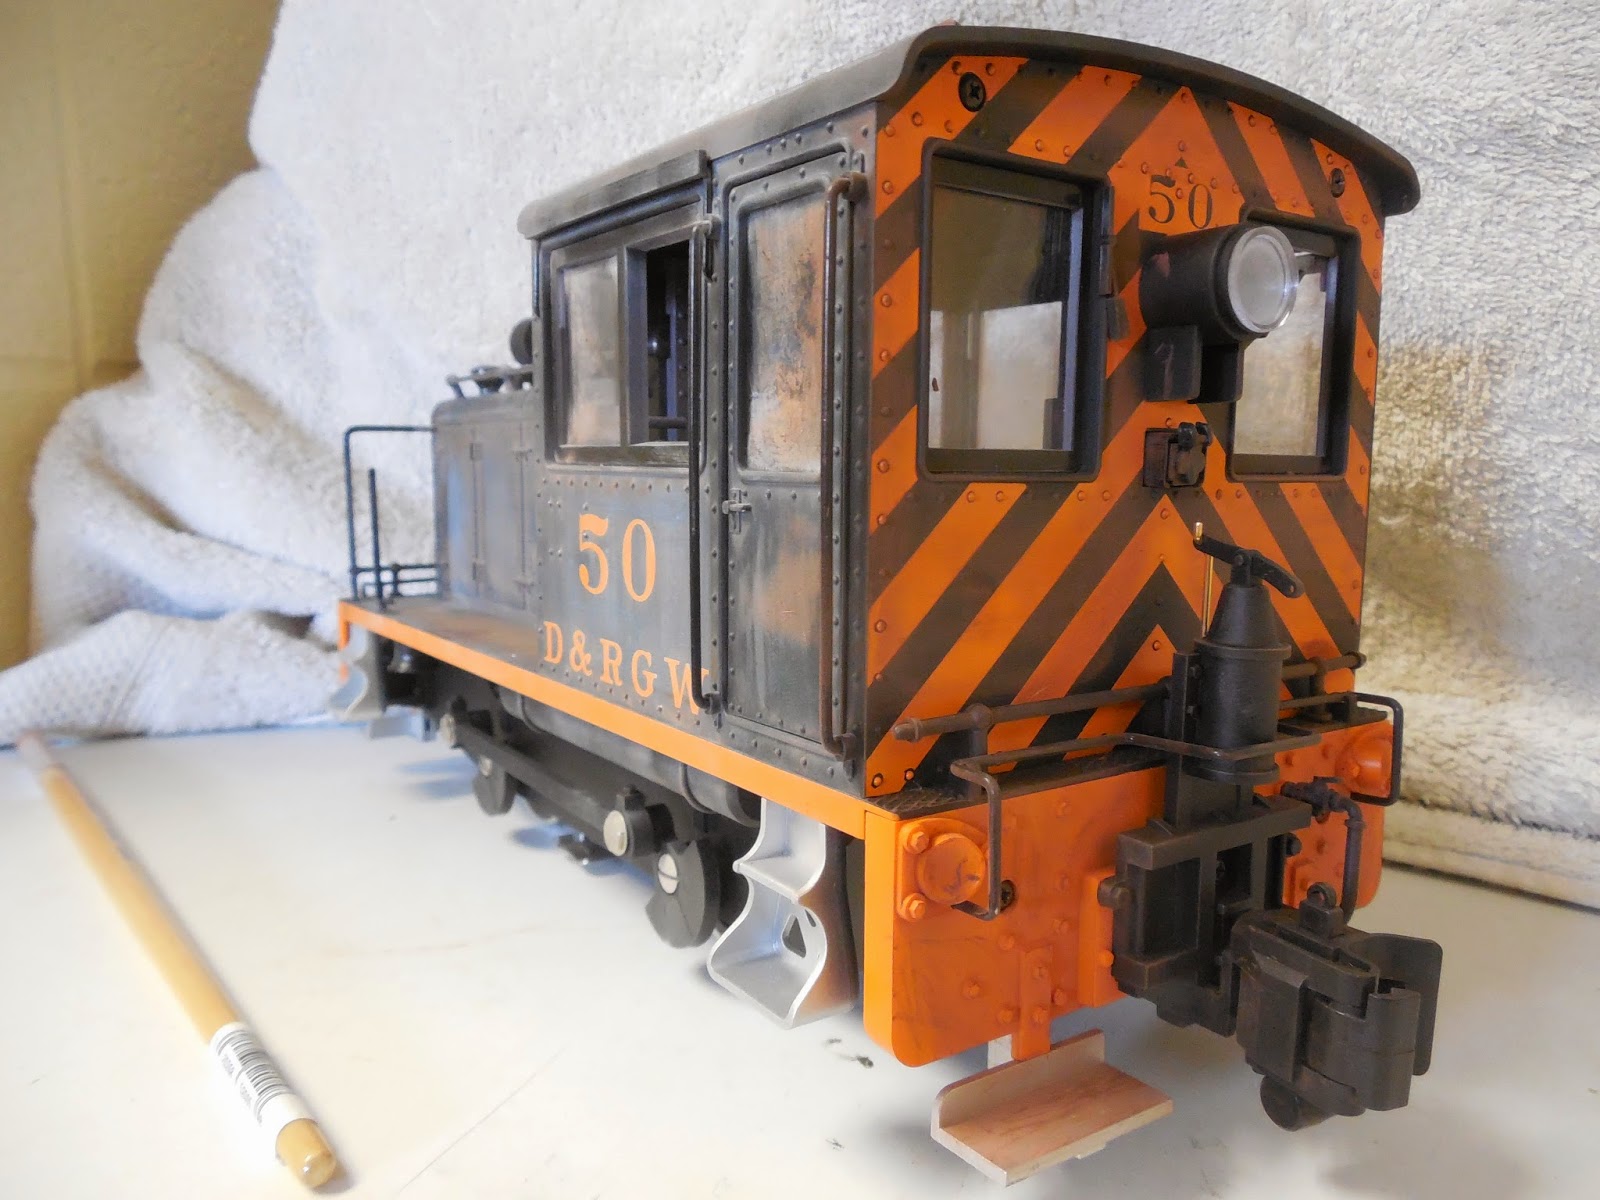
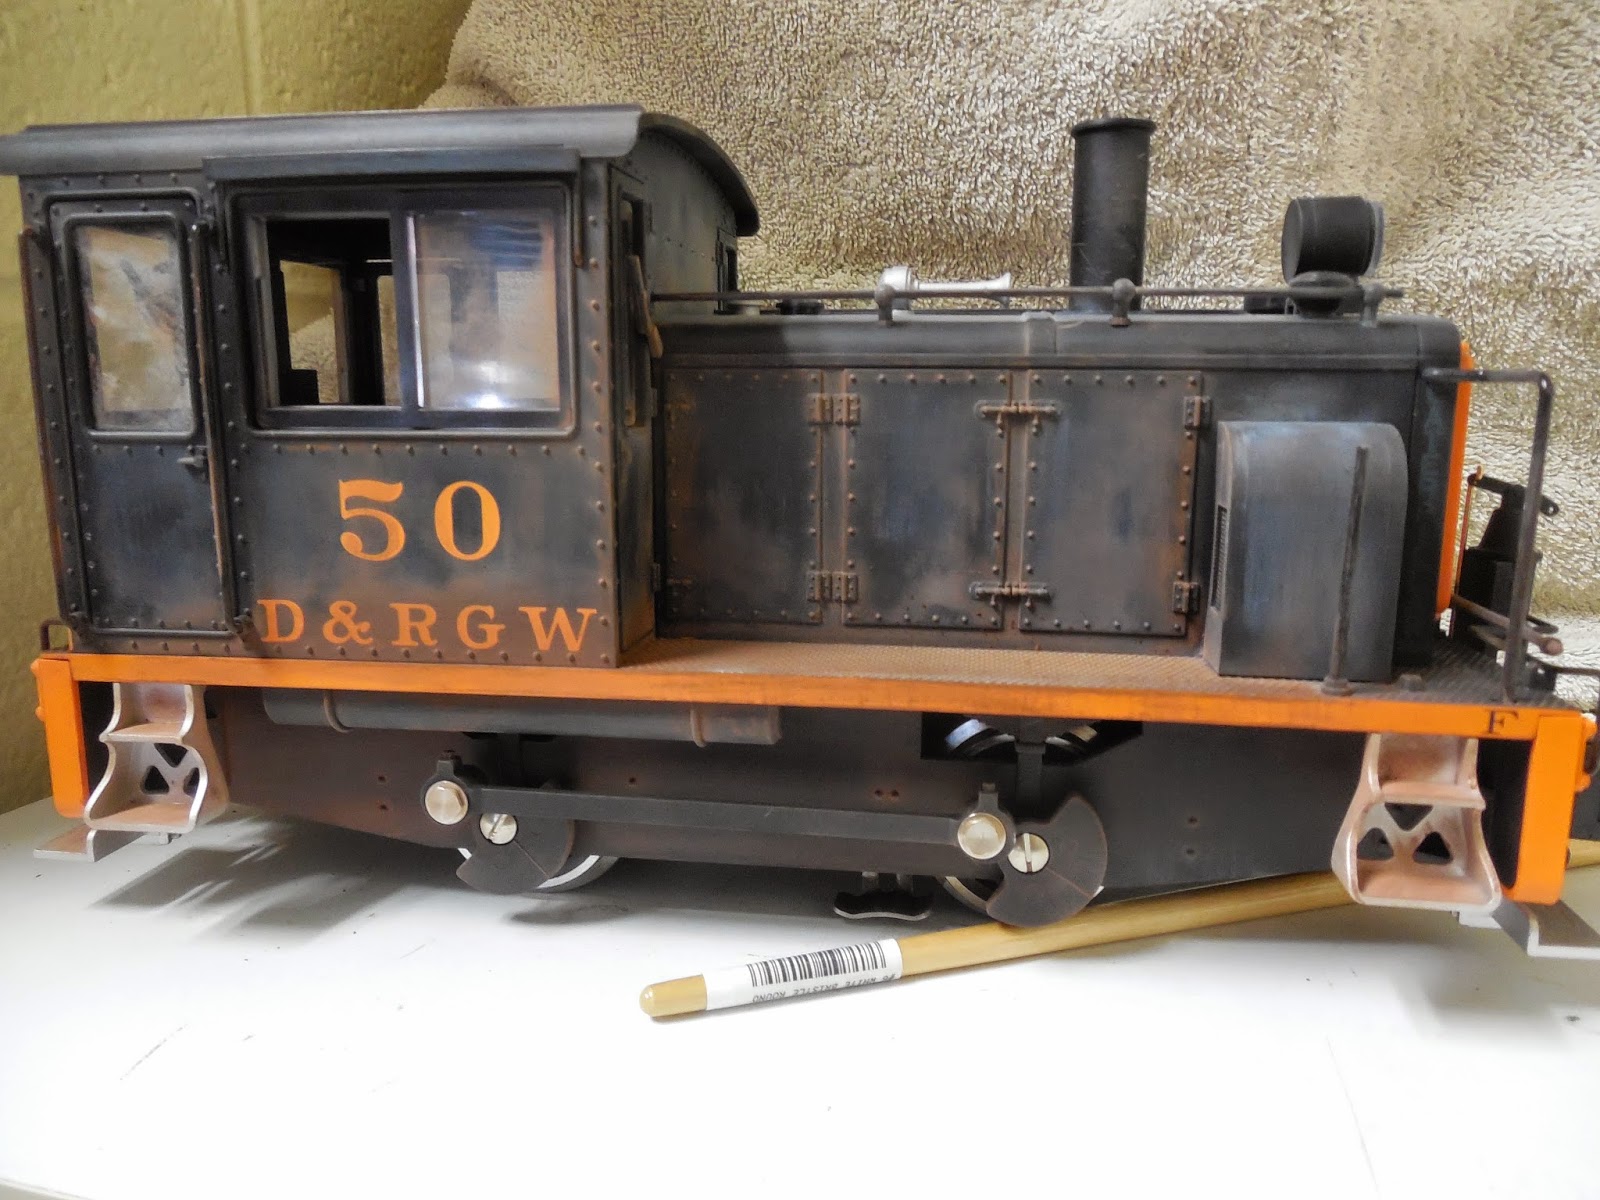
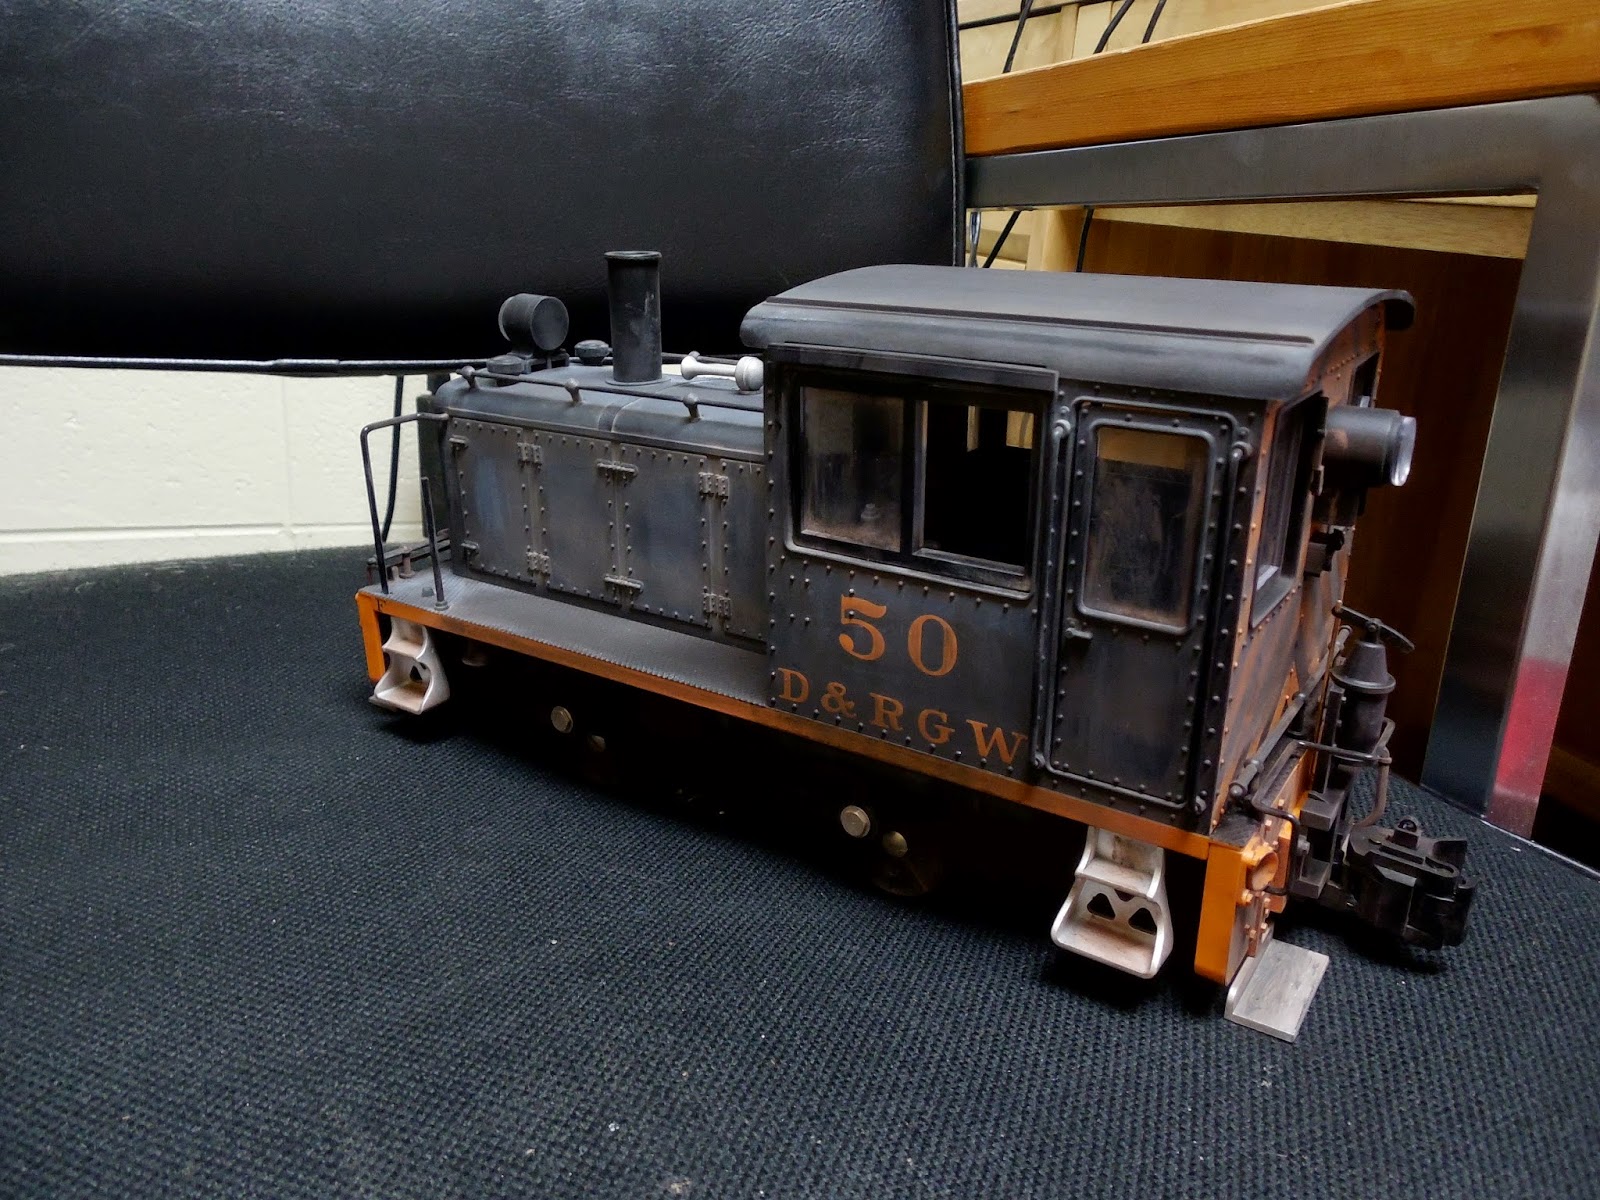
  5. Details and Weathering:  Broad topic, but is very specific to each model.  I'll tell you right now, weathering and detailing models is very fun and rewarding.
  6. Kitbuilding:  They should be easy, but some people are still a little intimidated by all the parts that come with a model kit.  I'll focus on motorized, modified, and non-motorized kits where-ever I can find them.
  7. Finally, someone hs already marked that they would like help with Planning a model railroad.  Rather than the art of track planning, I will also discuss how to make a railroad look better than the standard train set.
Good topics so far, but I'd like to see more votes to see which topics I should focus most on.  Don't forget that if you have a topic you'd like to see me discuss, please comment below; your suggestions are appreciated!  Thank You!

--James

Saturday, April 12, 2014

Weathering with pastels

Pastels, as I found out yesterday, is going to e my go-to choice for weathering.  Yesterday I had nothing better to do, so I decided to weather my LGB G scale model of the small DRGW #50 diesel.  Most Colorado narrow gauge fans know this locomotive well.  Unfortunately, as with the case of most small diesels, when it was in service on the DRGW, few people thought to take a picture.  There are plenty tht exist from recent years when it has been running at the Colorado Railroad Museum, but I've only been able to find a few photos.

Therefore, my weathering on the model isn't quite the same as on the prototype, oh well.  I think the results are satisfactory, and I'll be using pastels from now on.  One thing I haven't figured out yet is how I'm going to seal the pastels to the model so they don't rub off.  But anyways, below is my instructional slide show:

Here are the before photos: showing several angles of the locomotive:


For the technique, I applied the pastel in strokes, then I brushed it around a bit until the pastel was dull and thin, looking more like dust.


The ifrst color on my list was white, giving the black a faded and sunbathed look to it:


Then came the second color.  In pastel terms, it s Sanguine, which looks a lot like Burnt Umber.  I applied this to represent rust.


Next came dirt, which was represented with Bistre,  more dull, brown color.  This was applied pretty much anywhere you'd think to find dirt and grime.


And finally, I added in black to represent soot and to tie the other colors together.


And the finished product!


Wednesday, April 9, 2014

Can a 7/8n2 be a micro?

Four square feet, that is the size limit for a micro layout according to the late Carl Arendt, a micro layout master.

So far, just about every scale has been shown in a layout less than 4 square feet in area.  However, there does not seem to be a 7/8n2 scale layout under 4 square feet.  Carl has two examples on his website that I am aware of, both are quite large in size.  But I may have found a micro plan for this scale.

7/8n2, the BIG scale:

7/8ths scale stands for 7/8" equals a foot, or a ratio of about 1:13.7.  The largest commercial scale that is ready to run is 1:20.3 from manufacturers such as Bachmann and Accucraft.  1:13.7 is, by scale, almost twice the size of 1:20.3, yet runs on the same 45mm track.  This configuration means that in 7/8n2, the trains represent 2 foot gauge prototypes.  The picture below gives an idea of the difference in size.  The drawing on the left represents 1:20.3, which is only slightly larger than the standard garden train in physical size.  The drawing on the right represents 1:13.7, which is about 148% larger, assuming the exact same prototype locomotive is being modeled between the two scales.


So while a 1:20.3 locomotive might only be 5.5 inches wide, a 1:13.7 model of the same locomotive would be 8.15 inches wide.

However, 7/8n2 uses 45mm (gauge 1) track, which is the same as all other garden scale trains, only to represent 2 foot gauge instead of standard gauge or 3 foot gauge like 1:32 and 1:20.3 does.  This works in a similar way to comparing On30 and HO scale, both use the same track gauge, but represent different prototypes which, in real life, used separate gauges.

If doesn't make any sense, think of the scale changing, but not the gauge.  Still confused?  If so, here's all you need to know: these are big trains!

So no wonder no one has built a true micro, these trains are big, and therefore will take up a lot of space on a layout.  However, if very careful in the designing process, I think it is possible to build a micro for such a large scale.

There are two things that must be taken into consideration:  The width of the trains, and the length of the cars.  This helps determine the minimum track length you can have for a given spur.

First, we need to establish the width the display must be.  The track is 45mm (1.77in) wide, but we also need to add at least another 2 inches on each side for clearance.  So each track will need a width of  about 6" to be workable, perhaps slightly thinner.

Length is a bit more lenient.  I look for about 6" of length per car, and 9" for the locomotive.  With that information we know tracks must be 6" apart, on center, and we now have a rough idea of the lengths of the locomotive and cars.  The next step is to pick a track plan.

I personally love Inglenooks, they're prototypical, and they offer a lot of fun for a small space.  After some working, here's the plan:

Total area for the layout, if given the dimensions above, would be 573 square inches, three inches shy of 4 square feet.  This was done by taking an 18 inch by 40 inch rectangle, then shaving off the unnecessary corner to the point that it is under the 4 square foot area.

What we get from this is a 2-2-3 micro inglenook that uses a traverser to double as a turnout and as the head shunt.

This layout could be operated as a game, with up to 720 different combinations, or can be operated in a more realistic fashion using waybills or car-cards.  The view of the traverser would be blocked by a frontal wall, which merges into a building as it meets the visible part of the layout.  In my example, I decided to go with an industry on the middle spur which covers the track, perhaps for grain loading, or simply to keep the rain off the workers.  The spur on the bottom, which would be the front of the layout, has a deck built for trans-loading from vehicles to the train.  In Europe, 2 foot gauge would have been common up until about 40 years ago when their highway system was upgraded.  Even today, there are several examples in the UK.

In the US, because of generally larger space, 2 foot gauge has never been as common.  But, industries would have used narrow gauge in large facilities up until the 1950's when trucks became cheaper and more reliable.  Not to mention the famous Maine 2 foot gauge and all the short-lines in Iowa, Illinois, Wisconsin, and Minnesota which were narrow gauge, then those that survived into the 1950's were bought and re gauged by all the large,consolidated railroads.

(Historians: I may be wrong about the dates, please let me know through a comment if I am wrong and I will correct the dates)

Thus far, this is the only plan I've come up with that looks promising.  I might do a small 7/8ths layout in addition to the Bard Creek project over the summer.

Monday, April 7, 2014

A Quick Tip

I need this constantly, and I'm sure many others do as well.  Let's say you want to build a narrow gauge model.  You'll need to find out what the actual gauge is supposed to be.  So below is the following formulas I use to determine either the gauge of the model, the prototype gauge, or the scale of the model:


The first equation  I typically use for determining the gauge of the model I'd need to use to represent a specific prototype gauge.  On30 uses HO scale track to represent 30 inch gauge track, Fn3 uses G scale track to represent  36 inch gauge, Gn15 uses HO scale track to represent 15 inch gauge.

The second equation I don't use often, but in certain cases, it's good to identify the gauge of the prototype based on the model.  For instance, an On30 Locomotive runs on track about .625 inches apart; the prototype runs on 30" gauge track.  But did you know that 1/29th scale models running on 1.77 inch track actually represents a prototype track gauge of 51 inch , less than the actual 56.5 inch (standard) gauge.

The Third equation I use often when trying to determine what scale I'd need to build a model based on a set gauge.  For instance, let's say you want to represent an 18 inch gauge prototype using HO scale track (.625 inch).  To find the scale I'd need to use, I use the above equation to work out that I'd need 1/29th scale figures, cars, buildings, etc...  If doing this equation on a calculator, you will come up with a weird decimal.  To convert to a scale ratio, take 1 and divide it by this decimal, then round t the nearest whole number.  The above example would show 0.0347222... on the calculator.  If I take 1 divided by 0.034722 I'd get about 28.8.  I then round up to 29, so I need to model in 1/29th scale using HO scale track to represent 18 inch gauge.

While many won't need to know this, it helps for people looking for odd scale, gauge combinations that aren't normally sold RTR and need to be kit bashed or built from scratch.

--James